Sometimes good posts are made by annoying people so I’ll help out
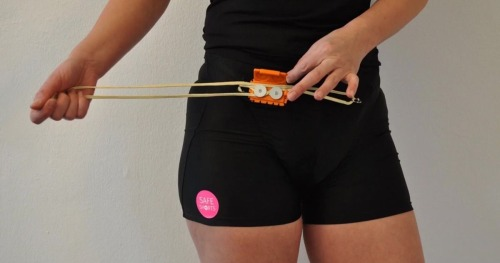
These are Safe Shorts. They were made by Sandra Seilz after someone attempted to rape her. If the fabric is torn, an alarm will be sounded.
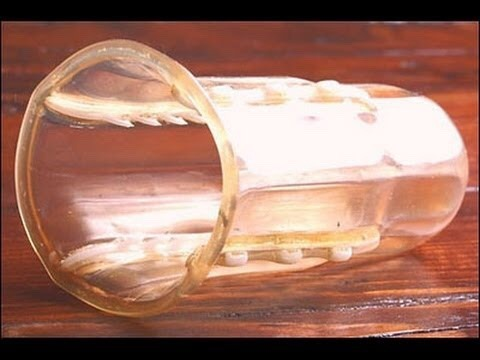
This is the Rape-aXe, invented by a South African doctor by the name of
Sonnet Ehlers. After interviewing a rape victim who wished she had teeth down there, she made this. If someone’s penis is inserted and pulled back out, the teeth will sink in, and can only be removed by a doctor.
The Killer Tampon (couldn’t find a site for it), made by retired anaesthetist Jaap Haumann. When penetration takes place, the sharp end will slice the offending appendage.
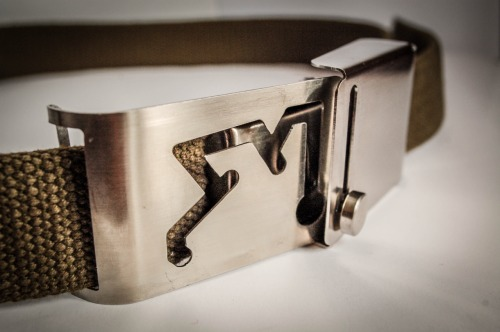
The Anti-Rape Belt (also couldn’t find a site), made by a group of Swedish teenagers led by Nadja Björk. It requires two hands to undo.
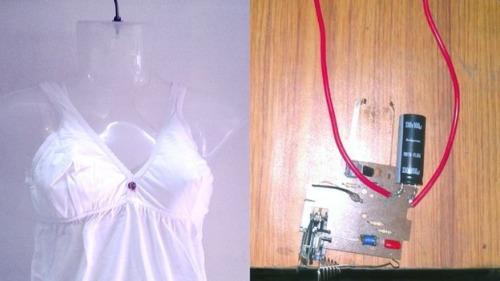
Anti-Rape Underwear/Bra (once again), as made by a group of Indian students. Will deliver an electric shock when met with unwanted advances, as well as sounding an alarm.
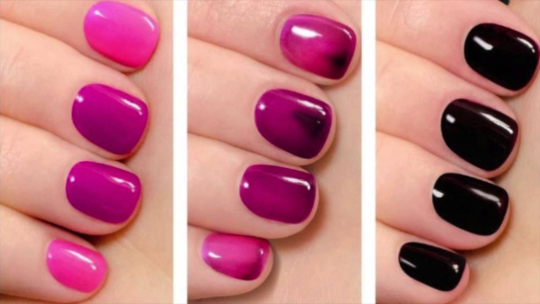
Undercover Colours. Made by 4 male undergraduates at North Carolina U, they change colours when in contact with chemicals or drugs that cause unconsciousness. Used in case you’re wary that your drink has been roofied.
These are just tools to help, but in addition to being mindful of your situations and staying safe, they can help when the worst happens.
Stay safe.
ok, those are all kind of awesome. i wish they weren’t needed, bit still…awesome solutions.
I feel more comfortable reblogging this version
RapeAxe has a gofund me up that barely has 700 dollars. I feel like the inventions that havent even been funded yet should be linked to the page you can support them at.
Okay guys, Ellen here with a couple of skin colour art hacks. Skin colours can be hard to pick, especially for races you’re not seeing in your own home or on TV every day. So I got a couple of hacks to share! The first is How To Make a Flesh Cloud.
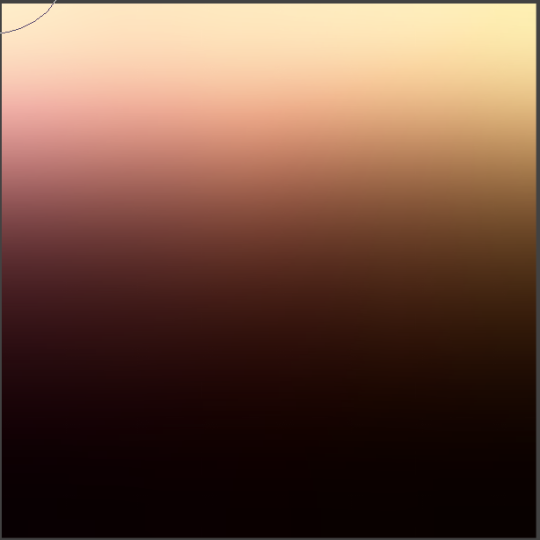
On a layer set to Normal, make this gradient. This is pretty easy since most art programs have gradient tools. I used Levels to adjust how pale and how dark the colours could go. If you do this, you might wanna apply a Gaussian Blur a couple times to make sure it’s still buttery smooth.
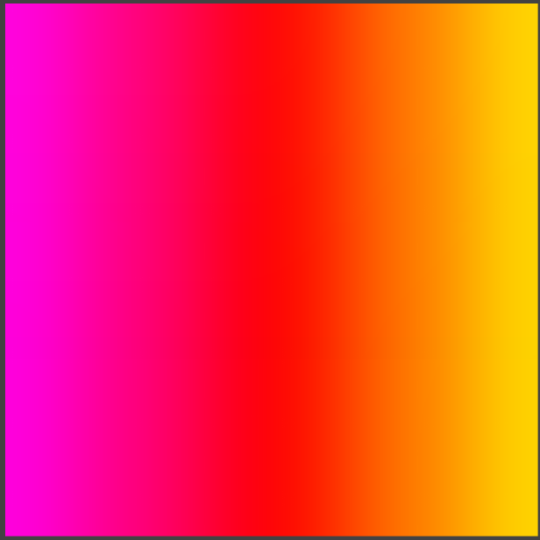
Now you’re gonna go on a new layer and make this gradient here. These are called your undertones. On the left is the ‘cool’ tone, which you can stretch into a more purple range if you please. On the right is your ‘warm’ tone, which you can go further into yellow or almost green if you like. If you push too far into green, purple and blue, you’ll get some rather outlandish tones. Good for zombies and vampires if you’re looking for that, but I’m sticking to ‘lively’ tones for now.
Whoaaaa, what’s this! This is just what happens when you change the settings! With the later ‘Undertones’ on top, I set it to 30% opacity and the ‘Hue’ layer mode in CSP. Suddenly I have these lovely colours that I can play around with! I personally didn’t like any other combinations of layer modes, but you can play around at you please. Fiddling with the ‘Curves’ correction layer can offer you a wider variety of colours in a specific shade – light, medium, or dark can suddenly have a dozen different categories!
The other hack is for when you’re drawing someone in particular, or you have a piece of 3D animation you want to do fanart for, or you’ve picked a real person with the PERFECT skin colour that you want to duplicate in your art.
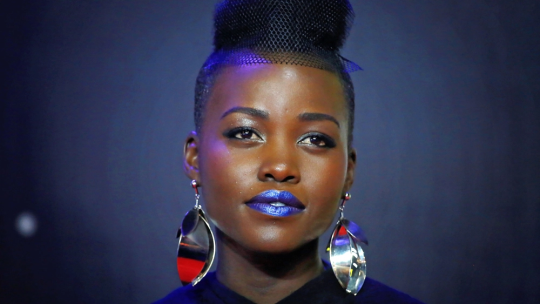
Let’s say I want to draw Lupita Nyong’o. She’s a gorgeous woman, why would I not?
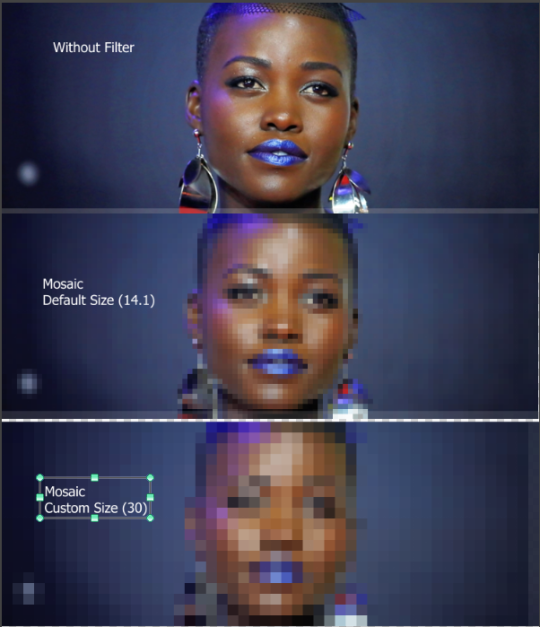
DO NOT JUST PICK COLOURS OFF OF HER PHOTO. Picking colours from photos or 3D renders is so hard, guys. Never do it. You end up with more mud than gold in your pan. So I’m gonna introduce you to a special filter. In Photoshop it’s called Crystallise, but in CSP, it’s called Mosaic. It lets you take a photograph and turn it into boxes of solid colour, rather than tiny teeny pixels that are impossible to pick correctly.
Ta-dah! … Okay, it looks terrible. But now I have solid colours that I can pick and palette without fear of grabbing something that looks nothing like the final result!